
If you’re spending a good amount of time in the terminal, why not make it beautiful and powerful? I recently got a new laptop and I had to customize my terminal once again, and as I hadn’t done that in a while, I had to research and relearn those steps. In this blog post, I’ll walk you through the steps that I took to get my terminal looking and functioning the way I wanted it to work.
Prerequisites
- Windows 11
- Windows Terminal (pre-installed, but update it via the Microsoft Store if needed)
- PowerShell 7.x (cross-platform version, not Windows PowerShell 5.1)
- Git (for Oh My Posh and other integrations)
Install Cross-Platform PowerShell 7 (if not already installed)
You can install the latest PowerShell from https://github.com/PowerShell/PowerShell.
Or use this one-liner in an admin PowerShell session:
winget install --id Microsoft.Powershell --source winget
After installation, open Windows Terminal and click the dropdown ➜ choose “PowerShell” (it should now point to pwsh, the modern version).
Install Oh My Posh
Oh My Posh is a theme engine that makes your terminal look amazing.
Run this in PowerShell:
winget install JanDeDobbeleer.OhMyPosh -s winget
Verify it’s installed:
oh-my-posh --version
Choose and Apply a Theme
Oh My Posh comes with dozens of beautiful themes. You can preview them here: https://ohmyposh.dev/themes
Let’s try the popular paradox theme:
First, download the theme file:
$themeDir = "$HOME\AppData\Local\Programs\oh-my-posh\themes"
oh-my-posh init pwsh --config "$themeDir\paradox.omp.json" | Invoke-Expression
To make this permanent, add it to your PowerShell profile:
notepad $PROFILE
Add this line at the bottom:
oh-my-posh init pwsh --config "$env:POSH_THEMES_PATH\paradox.omp.json" | Invoke-Expression
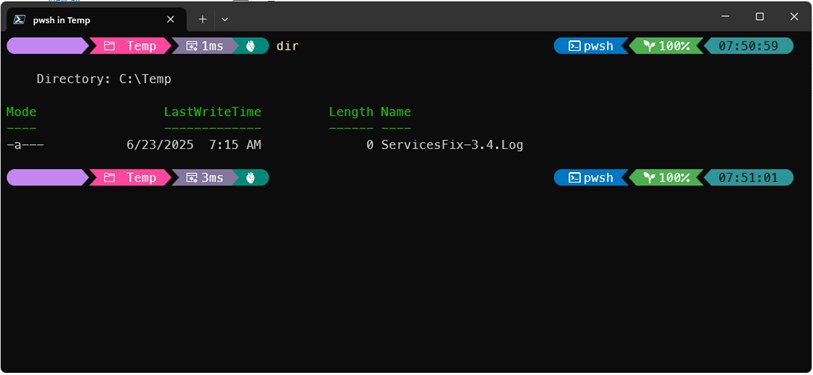
Save and restart your terminal. It should now look amazing! You can find all theme files in $env:POSH_THEMES_PATH
Enable Autocomplete & Command Suggestions
One of the most powerful developer features: inline command suggestions and history-based autocomplete.
Install PSReadLine Module (if needed)
PowerShell 7 comes with PSReadLine by default, but to get the latest autocomplete features, install the latest version:
Install-Module PSReadLine -Force -SkipPublisherCheck
Then in your profile (notepad $PROFILE), add:
Import-Module PSReadLine
Set-PSReadLineOption -PredictionSource HistoryAndPlugin
Set-PSReadLineOption -PredictionViewStyle InlineView
This enables inline suggestions as you type, similar to GitHub Copilot but for your terminal.
Optional: Add Git Status, Node Version, and More
Oh My Posh themes often display dynamic info like:
- Current Git branch and status
- Node.js, .NET, Go, or Python versions
- Execution time
- Admin/elevation status
Make sure these are enabled by customizing your theme or switching to one that supports them (e.g., jandedobbeleer.omp.json).
To enable version indicators, install relevant tools (like node, dotnet, or pyenv) and add their paths to PATH.
Nerd Fonts for Icons
If your prompt shows weird symbols or boxes, install a Nerd Font.
1. Visit https://www.nerdfonts.com/font-downloads
2. Download and install a font like MesloLGS NF
3. In Windows Terminal ➜ Settings ➜ PowerShell ➜ Appearance ➜ Font face: MesloLGS NF
Closing Remarks
Your terminal should now be as powerful as it is pretty. Also, feel free to take this to the next level by:
- Customize your Oh My Posh theme using the theme builder
- Use aliases or functions in $PROFILE to reduce typing for frequent commands
Happy customizing!