
This entry is part three of a four-part series on “How to Create Your Own REST Endpoints in Salesforce and Consume Them From an External Application.” Here are links to parts 1 and 2:
Part 1: Create Your Own REST API Endpoints in Salesforce Using Apex REST
Part 2: Generate a New Certificate with OpenSSL for Use with Salesforce Connected App
In this installment, let’s explore how to create a new Connected App in Salesforce to serve as the Gateway into our org to external client apps that will be using the APIs we created.
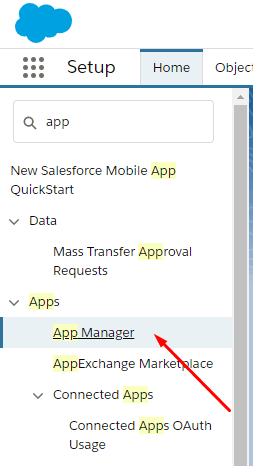
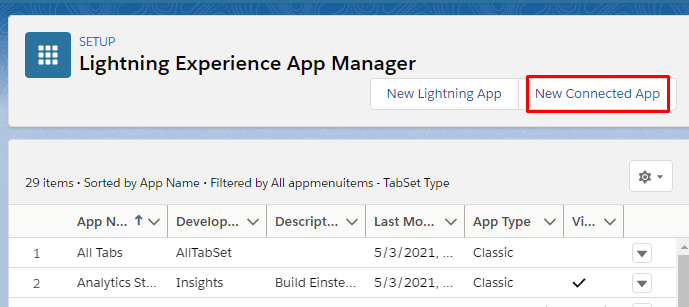
From the Setup App, search for “app” and click on the “App Manager” link. From the App Manager listing screen, click on the “New Connected App” button.
Fill out some basic information like a name for the app and an email address to serve as the contact for this app. The next part, “API (Enable OAuth Settings)” is most relevant to our discussion, here.
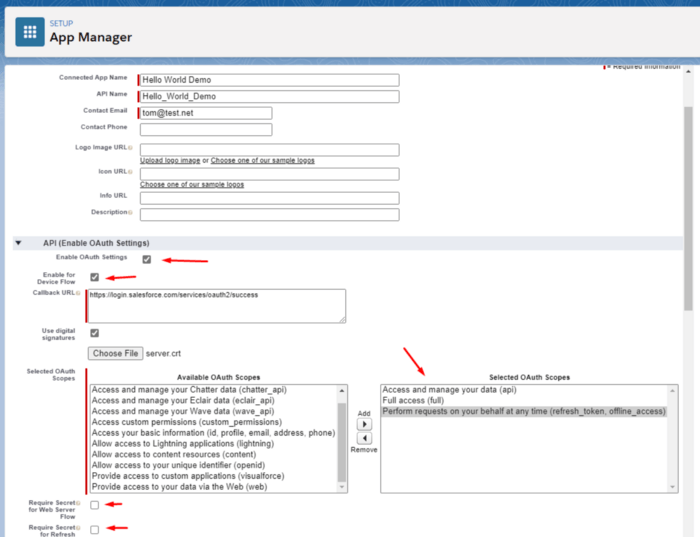
Note my particular selections:
- First, check the “Enable OAuth Settings” box to enable external apps to authenticate using an OAuth flow.
- Check “Enable for Device Flow”. As we discovered in Part 1 of this series, there are several OAuth flows supported by Salesforce. The one that we’re focusing on is called a “OAuth 2.0 JWT Bearer Flow for Server-to-Server Integration.” Our external app is going to be a .NET C# Console application. We want that app to run and interact with our Salesforce org and associated data without any user-intervention. We denote that by checking this “Device Flow” checkbox. When we do, we see a default/placeholder Callback URL is supplied by Salesforce. This is not really applicable to our use-case except that we must supply the same exact URL in our token request (more on that later) as a form of authentication; Salesforce will consider our request to be legitimate as this URL will match between what we setup here and what we pass-in, for our token request.
- Next check “Use digital signatures.” When we do, we get a “Choose File” option to select and upload a TLS certificate that we’ll use to digitally sign our token requests and Salesforce will use this same certificate to unpack our request. Select the certificate that we created in Part 2 of this series.
- Scopes: For the purposes of our demo, I’m selecting “Full access.” We should be more restrictive of the scopes in a production setting, only choosing the minimum permissions we need to carry out our desired task. I’m also selecting “Access and manage your data” and “Perform requests on your behalf at any time” as our external app will require offline access.
- I’ve unchecked the two “Require secret..” checkboxes as they do not apply to our use-case.
Click “Save” to create your new Connected App. Wait 2–10 minutes for your changes to take effect.
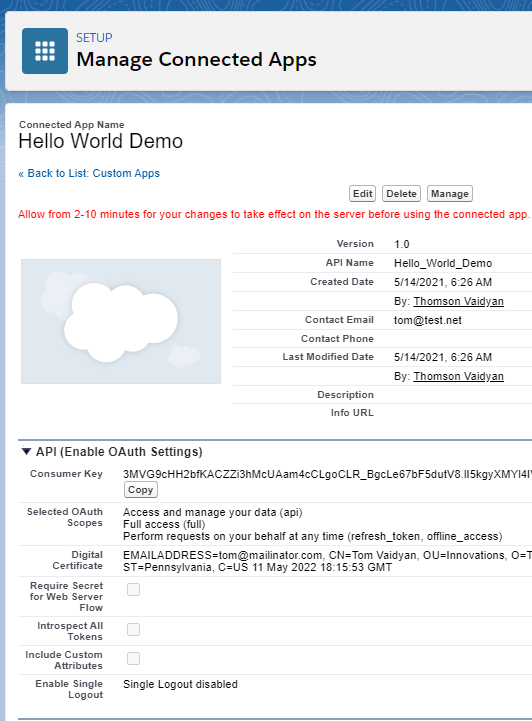
Take a note of the new Consumer Key that was generated by Salesforce, for your new Connected App. We’ll need this key when authenticating our external app, later.
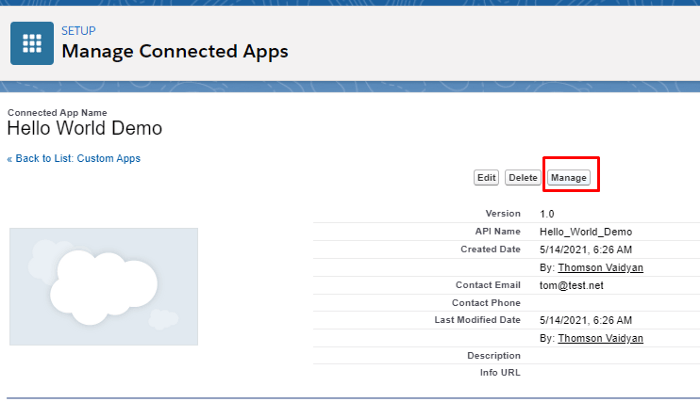
There are a few more configurations that we need to make to allow for our external client application to connect to our Salesforce org. Click on the “Manage” button for your app.
Click on “Edit Policies” in the new screen that appears.

There are two changes that I want to make here:
- Permitted Users: I want to select “Admin approved users are pre-authorized.” As stated before, my client-app will run as a daemon, without the context of a connected user. As such, my permission must be preauthorized by an admin because my program won’t be logging-in as a user upon initial run.
- IP Relaxation: I’m going to “Relax IP restrictions” so as to allow my app to run from anywhere.
Save your changes.
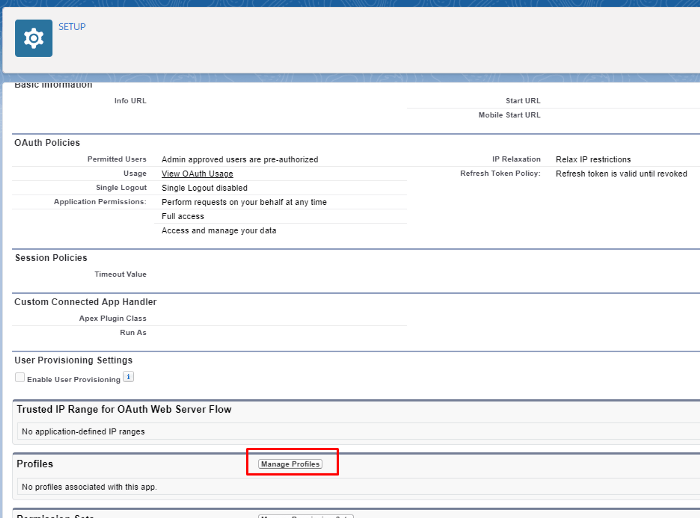
Back on the landing page, scroll down to the Profiles section and click on the “Manage Profiles” button.
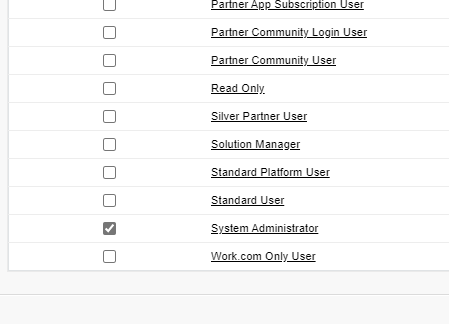
I’m going to be running my demo client app under the context of my own username, on my own org. And as I’m a System Administrator on my org, I’m going to select the “Systems Administrator” profile to allow any user on my Org, belonging to that profile, to run my app and authenticate against my Org, successfully.
Congratulations! You have created a new Connected App within Salesforce and made all the configurations to allow an external client application to authenticate against your Org.
Part 4: Connect to a Salesforce APEX REST API from a C# Console Application