
When new’ing up a Vue project using the Vue CLI, it gives you the option of getting some JavaScript linting with the help of ESLint. However, you may soon find yourself fighting with all the different tools involved – ESLint, VSCode, Vetur and Prettier extensions as this mix could create some conflicts.
What’s ESLint?
ESLint falls into the category of Static Code Analysis. Similar to what I said about EditorConfig in my previous post, ESLint helps your team achieve a consistent style in your JavaScript code. But linting does much more than just unifying styles (formatting)… its primary focus is on bringing attention to code that can cause potential problems.
Take a look at the for loops in the block below:
// Infinite loop
for (var i = 0; i < 10; i--) {
}

// Infinite loop
for (var i = 10; i >= 0; i++) {
}

// Unreachable code
for (var i = 0; i > 10; i++) {
}
While the loops above don’t have any syntactical errors and are perfectly valid JavaScript code blocks, they are clearly issues as they’ll cause infinite loops or prevent code from ever executing due to an incorrectly specified condition. ESLint will flag these issues during development time, helping you to fix the issue prior to the bad code ever leaving your machine. There are several other rules such as this that ESLint brings providing a safety net for your codebase.
How Do I Use It for Vue.js Development?
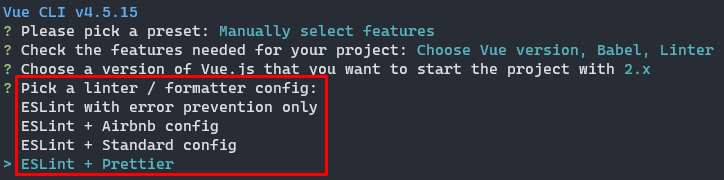
When you initialize a new project using the Vue CLI, either through manually selecting the features or by going with a default option, the tool will plug in ESLint into your project.
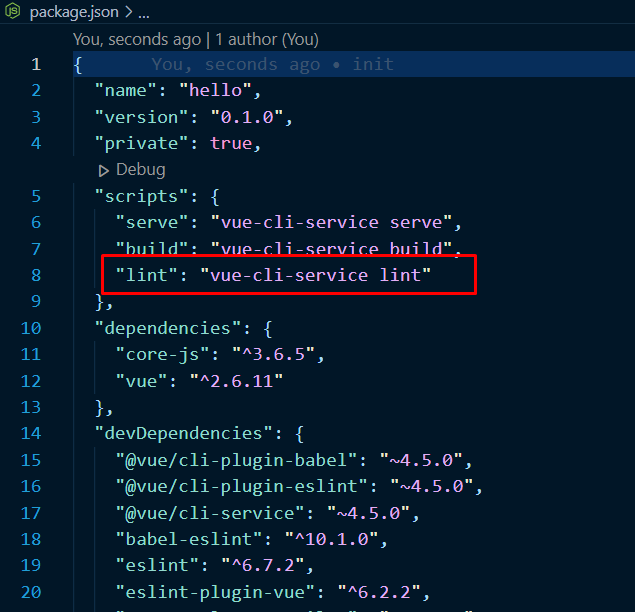
If you take a look at your package.jsonfile for the different script commands that are available, you’ll notice that it also wired up a lint command that you can execute from the command-line.
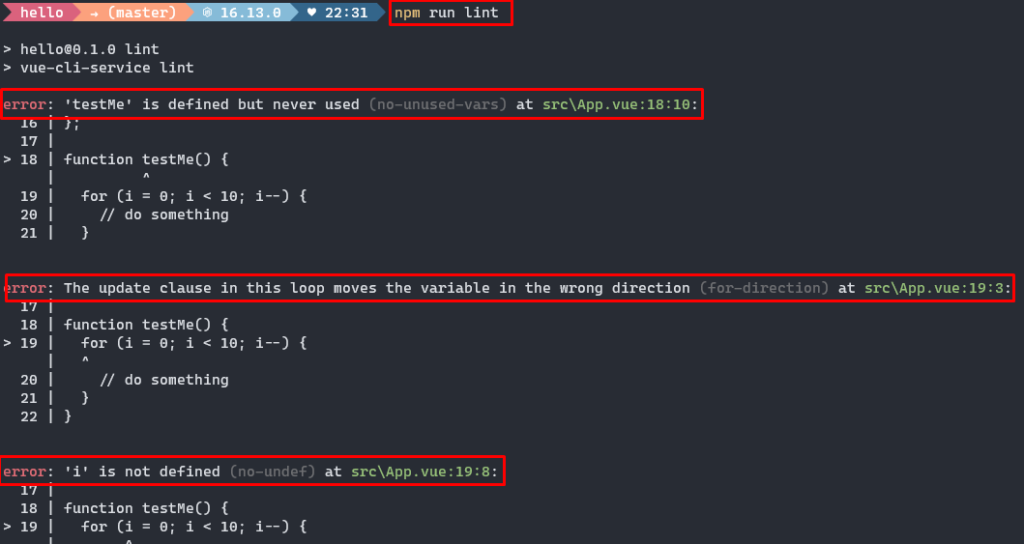
You can certainly run this command from your terminal and it will run ESLint for you and provide you with feedback:
However, you can take this a step further. To get all the ESLint goodness integrated into VSCode, you should download and install the ESLint extension.

With this extension enabled, you can see the linting errors directly in the code editor without you manually having to run linting.

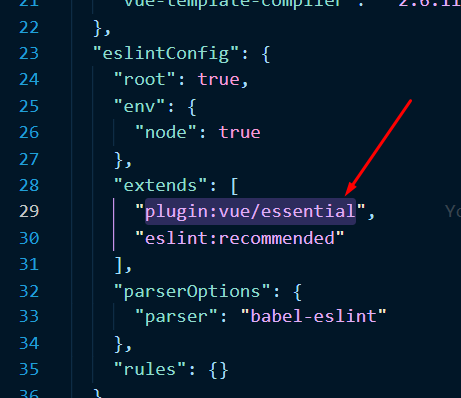
ESLint also provides an extension model that allows developers and frameworks to augment its own linting rules with additional rules that may be specific to a framework or library. Vue provides a collection of ESLint plugins and also wires one up in your application by default called “plugin:vue/essential” which you can see in the package.json file or the standalone .eslintrc file depending on the options you selected while creating your Vue application.
You can check out the rules that make up this plugin along with all the other rules and plugins that Vue provides by checking out the eslint-plugin-vue repo in the vuejs org on GitHub.
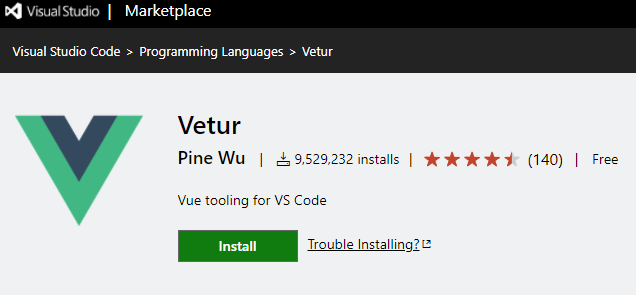
Vetur
If you’re on Vue.js version 2.x, this is the extension that you want to install and use to get syntax highlighting, snippets and all the Vue goodness in VSCode. In addition to those, Vetur also exposes ESLinting rules specific to Vue in the VSCode editor. Vetur also works with version 3.x but the official guidance is to use the Volar plugin for v3.
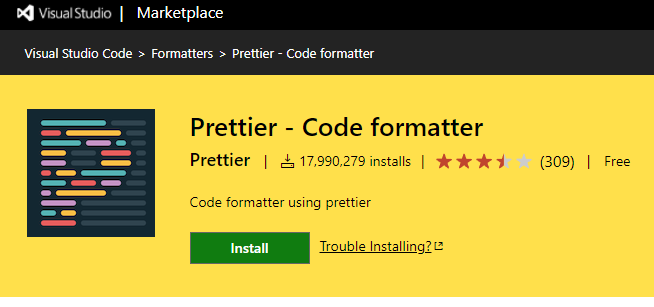
Prettier
While ESLint is more concerned with code quality, Prettier is concerned with code formatting. And at that, it is a very opinionated code formatter, not just for JavaScript, but for CSS, HTML, Angular, JSX and a lot of other things, mostly frontend development related. You can check it out, here.
How Can They Play Nicely?
So, that brings us to the issue at hand – how can we configure all these pieces so that they are not stepping on each other’s toes? If we are not careful, we’ll end up in a situation where ESLint is complaining about something that Prettier thought should be formatted a certain way and when we change it to make ESLint happy, when we save the file, Prettier reverts it back to what it had previously causing ESLint to be unhappy again.
We want Prettier to handle the code formatting for us and use ESLint for flagging all the code quality issues.
Now, in order to do that, the Prettier team has provided a package that we can download and install that will essentially override/remove any ESLint rules that are in the domain of code formatting and have conflicts with Prettier’s own formatting rules. You can find that package repository on GitHub, here:
Install it from the command-line:
npm install --save-dev eslint-config-prettierIn addition to installing this npm package, you must add two rulesets to your eslint config (either in your separate .eslintrc file or within the eslint section of your package.json) under the extends section:
"extends": [
  "plugin:vue/recommended",
  "eslint:recommended",
  "prettier",
  "prettier/vue"
],
Note: The order matters. Make sure to add these to the bottom of the list so that it gets the chance to override other configurations.
Closing Remarks
Also check your VSCode settings to make sure that the default formatter is set to Vetur but at the same time, check the Vetur settings in VSCode to ensure that it is using Prettier as its formatter for formatting HTML, CSS and other types.