
Redis is an open-source, in-memory database system that provides super-fast performance. By adding this to your architecture, you can address performance and scale in your applications while easing the strain on your underling data persistence systems such as your relational databases and other backend systems where scaling can be a difficult and expensive operation. In the previous article, we looked at adding an in-memory cache in your ASP.NET application for this very same reason. Redis is a natural evolution in that step allowing you to take that caching strategy further by moving that responsibility away from your webserver and into a separate system, allowing you to grow and maintain that independently from your webserver. While the built-in IMemoryCache provides a basic provision for caching, a Redis implementation provides a much richer API with support for a wide variety of data types and structures, native implementations for clustering, high-availability and failover options, streaming and extensibility options with rich support for a variety of languages and frameworks.
Setup Redis
One of the easiest way to setup and try out Redis is through Docker. If you don’t have Docker setup or are unfamiliar with it, please be sure to read my introduction to Racher Desktop, here. Rancher Desktop is a free piece of software that you can install on your developer machines to run docker images.
Assuming that you have a Docker engine running on your machine, you can create a new instance by running the following command in your terminal:
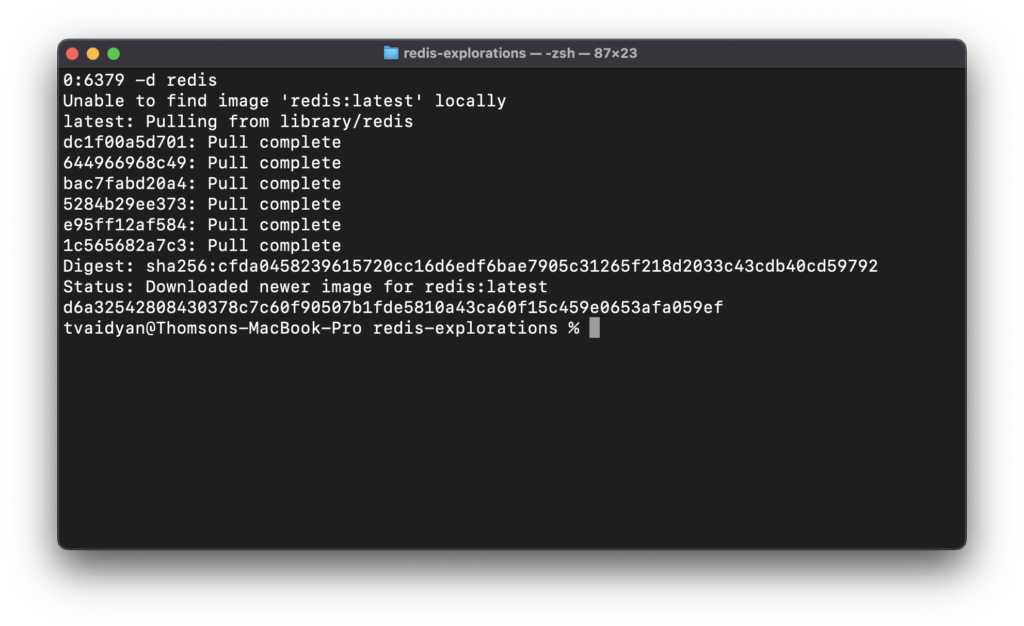
docker run --name hello-redis -p 5050:6379 -d redis
The above command will pull down the redis image from dockerhub and create a new instance of it, accessible to you via port 5050 on your machine (mapped to port 6379 in the docker environment). The instance will be named hello-redis and the -d signifies that the container will run in detached mode which will return the terminal control back to you while the container continues to run in the background. If all goes smoothly, you should see output similar to mine, shown below:
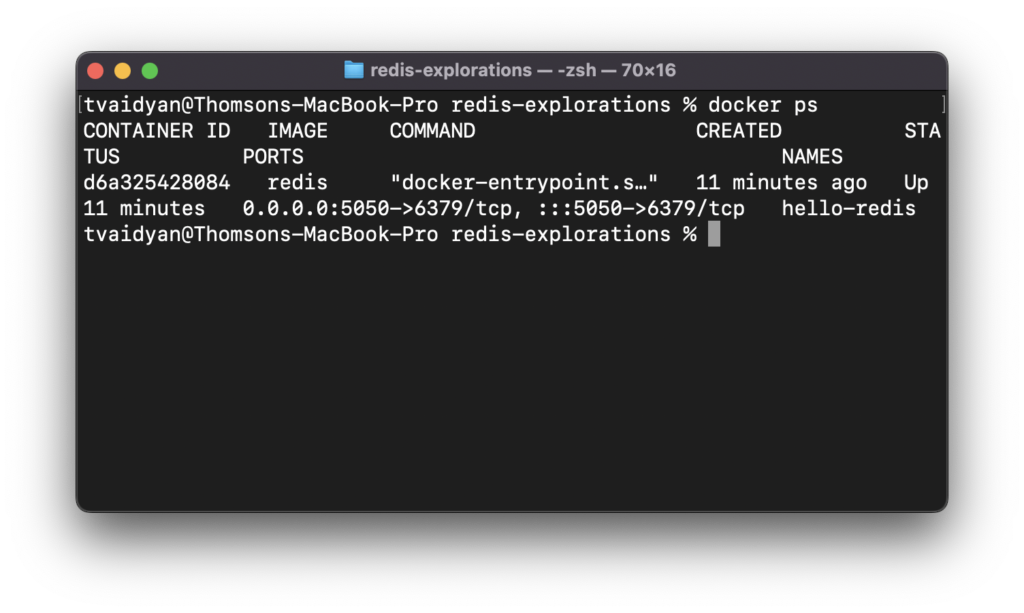
Now, let’s verify that Redis is indeed running on your machine now by running docker ps to see all the running containers on your machine. In the output you should see a container named hello-redis that you instantiated earlier.
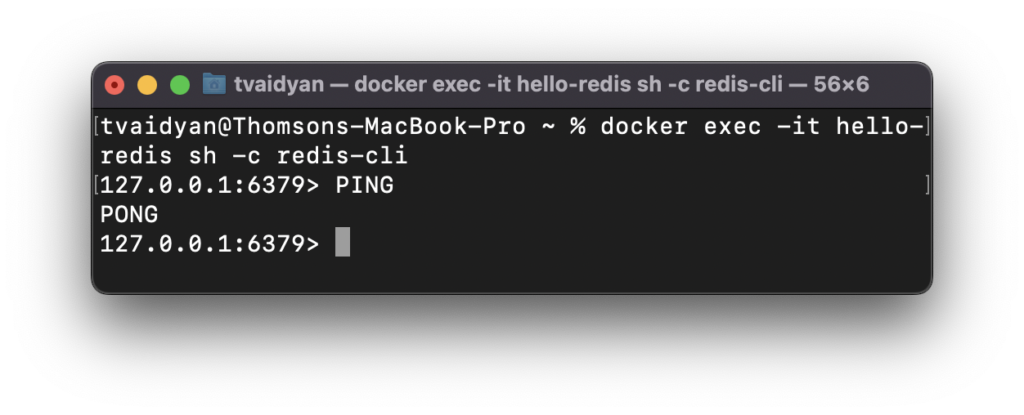
Now, you can use docker exec -it hello-redis sh -c redis-cli to get interactive shell access to that Redis instance and start up the redis-cli within it. With such access, you can run various commands against Redis from the command line.
Congratulations! You now have a fully functional Redis instance running on your machine. Now, let’s write some C# code to interact with it from an ASP.NET application.
Wire-Up Redis in ASP.NET
There are many .NET clients out there to interact with Redis. I’m going to use a popular one called Microsoft.Extensions.Caching.StackExchangeRedis in my example. You can download it via the NuGet Package Manager. With the package in place, you can wire it up in your Program.cs, like so:
using redis_explorations.Helpers;

var builder = WebApplication.CreateBuilder(args);

// Add services to the container.

builder.Services.AddControllers();

builder.Services.AddStackExchangeRedisCache(options =>
{
    // load this from external config in a realworld app
    // Reminder: Port 5050 is the port that we mapped to, when instantiating the
    // Redis container in Docker
    options.Configuration = "localhost:5050";
});

builder.Services.AddScoped<ICacheHelper, CacheHelper>();

// Configure the HTTP request pipeline.

var app = builder.Build();

app.UseHttpsRedirection();

app.MapControllers();

app.Run();
The AddStackExchangeRedisCache call wires up the Redis middleware. In my simple example, the Redis connection string is specified inline. In a real-world app, you’d load this in from an external configuration file or other config source.
I’ve also created an ICacheHelper interface and a CacheHelper concrete implementation of it and added it to the DI container. It provides a simple API to put something in the Redis cache using a key and retrieve that item later, using the same key.
using System.Text.Json;
using Microsoft.Extensions.Caching.Distributed;

namespace redis_explorations.Helpers
{
	public interface ICacheHelper
	{
		public bool TryGetValue<T>(string key, out T? value);
		public void Set<T>(string key, T value);
	}

	public class CacheHelper : ICacheHelper
	{
        private readonly IDistributedCache distributedCache;

        public CacheHelper(IDistributedCache distributedCache)
		{
            this.distributedCache = distributedCache;
        }

        public bool TryGetValue<T>(string key, out T? value)
        {
            var jsonValue = distributedCache.GetString(key);
            if (jsonValue is null)
            {
                value = default;
                return false;
            }
            else
            {
                value = JsonSerializer.Deserialize<T>(jsonValue)!;
                return true;
            }
        }

        public void Set<T>(string key, T value)
        {
            distributedCache.SetString(key, JsonSerializer.Serialize(value));
        }
    }
}
If you have been following along, you’ll recognize the shape of this interface and class. It follows the same structure that I used in my previous post on IMemoryCache.
Example Redis Usage in ASP.NET
With the above elements in place, you can now save to Redis and retrieve items from it. Take a look at this HelloWorldController for example usage:
using Microsoft.AspNetCore.Mvc;
using redis_explorations.Helpers;

namespace redis_explorations.Controllers
{
    [ApiController]
    [Route("greeting")]
    public class HelloWorldController
    {
        private readonly ICacheHelper cacheHelper;

        public HelloWorldController(ICacheHelper cacheHelper)
        {
            this.cacheHelper = cacheHelper;
        }

        [Route("{name}")]
        public string Get(string name)
        {
            if (cacheHelper.TryGetValue<string>(name, out var greeting))
            {
                Console.WriteLine($"{name} is already in cache... fetching from there.");
                return greeting!;
            }
            else
            {
                Console.WriteLine($"{name} is NOT in cache. Getting greeting from the database.");

                greeting = GetGreetingFromDatabase(name);

                cacheHelper.Set(name, greeting);
                return greeting;
            }
        }

        private string GetGreetingFromDatabase(string name)
        {
            // This method is a pretend database interaction
            // or any other resource intensive operation
            Thread.Sleep(5000);
            return $"Hello, {name}! I was created at {DateTime.Now.ToString("HH:mm:ss")}.";
        }
    }
}
Once again, this example controller closely mirrors the example controller of the same name from the previous post. That’s not a coincidence. By employing an interface similar to the one I made (although my example is quite simplistic due to the nature of this demo), you can implement a caching mechanism in either IMemoryCache or Redis or via another technology and swap them out as needed in your applications.
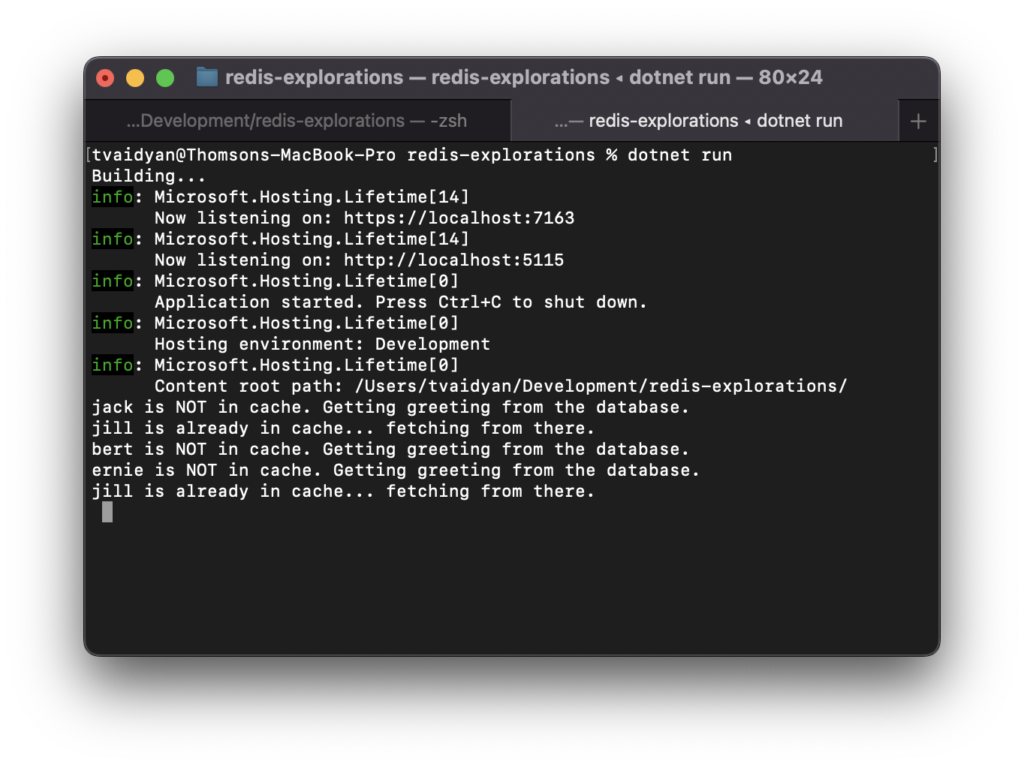
Test out your application by visiting the /greeting/[enter any name here] endpoint and experimenting with different names. When entering a new name, you’ll see a delay in the response caused by the deliberate Thread.Sleep call in the code, simulating a slow, expensive operation. However, if you supply the API with a name that you previously used, it will immediately pull that up via the Redis cache. You can also confirm by looking at the Console output.

Parting Thoughts
Today we looked at how to quickly setup Redis through Docker. If you want to play with today’s exercise on your own, please check out my GitHub repo for this project:
GitHub Repo: tvaidyan/Intro-to-Redis: Companion repo for my Redis in ASP.NET blog post (github.com)
Stay tuned for an introduction to Redis Cache in Azure, a turnkey managed service that allows you to acquire a new instance of Redis with ease and add it to your application architecture.